Installing and setup of GitHub Desktop Application
What is Git?
"It is a version control system used for software development." -Wikipedia-
What is GitHub?
It is a company that hosts Git repositories. Developers use it store different projects they are working on.
Installing GitHub Desktop
- Make sure you have created a GitHub account, if not click here to use that tutorial and set up an account.
- Download GitHub Desktop by clicking the following link.
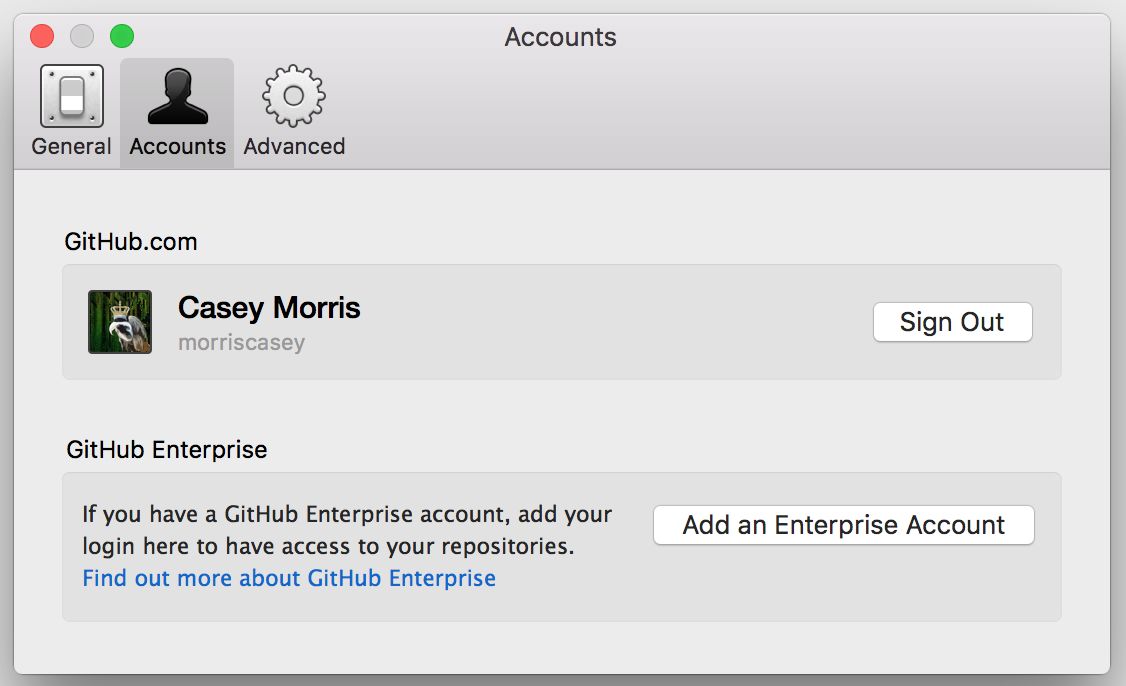
- Next, we need to authenticate your GitHub account. Click here and follow instructions.
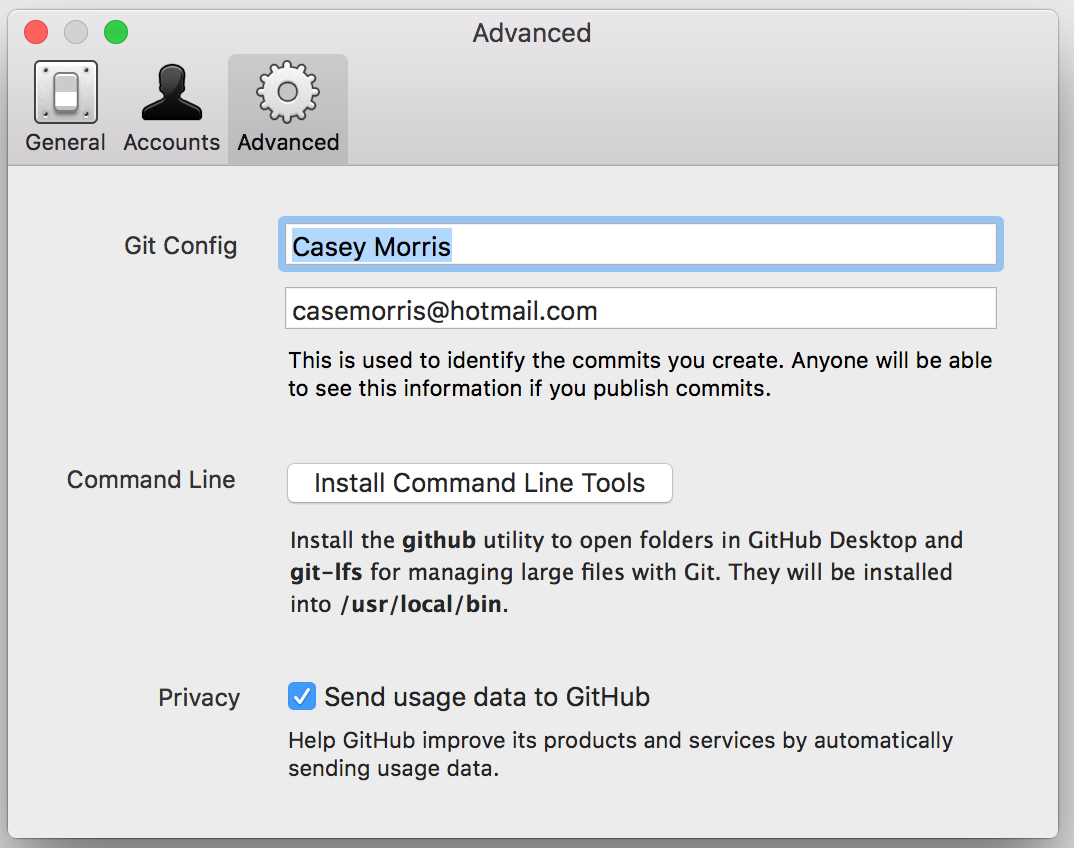
- While still in Preferences, click the gear icon titled "Advanced"
- Review the fields labeled "Git Config". It should have your name and email address used to register.
- If correct, then close "Preferences" or change the information.
Note: Instructions are available for Mac and Windows
Note: Ignore any steps stating GitHub Enterprise.
Has your team created a repository for your project?
Create a Repository for Your Project
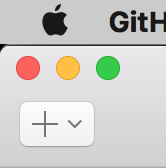
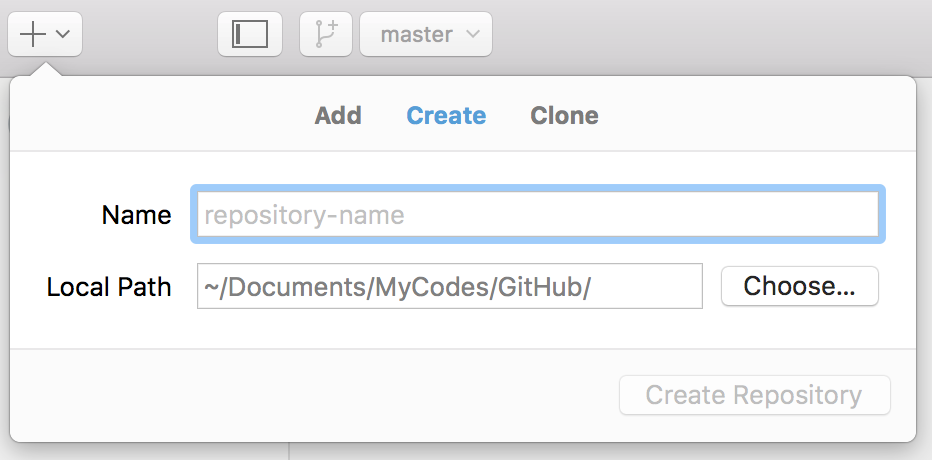
- In the top left-hand corner of the GitHub Desktop, click the plus icon.
- Choose Create
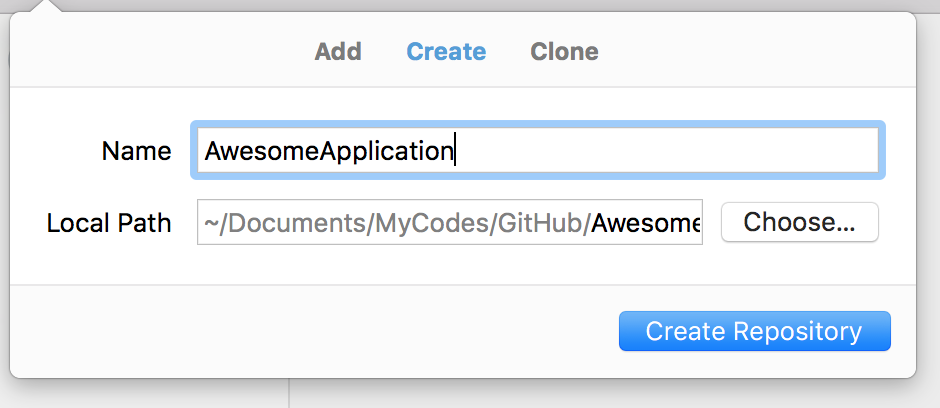
- In the name field type your projects name.
- On the right of Local Path, click "Choose" and pick where you want your local copy to be saved.
- Click "Create Repository". This saves a local copy to your computer.
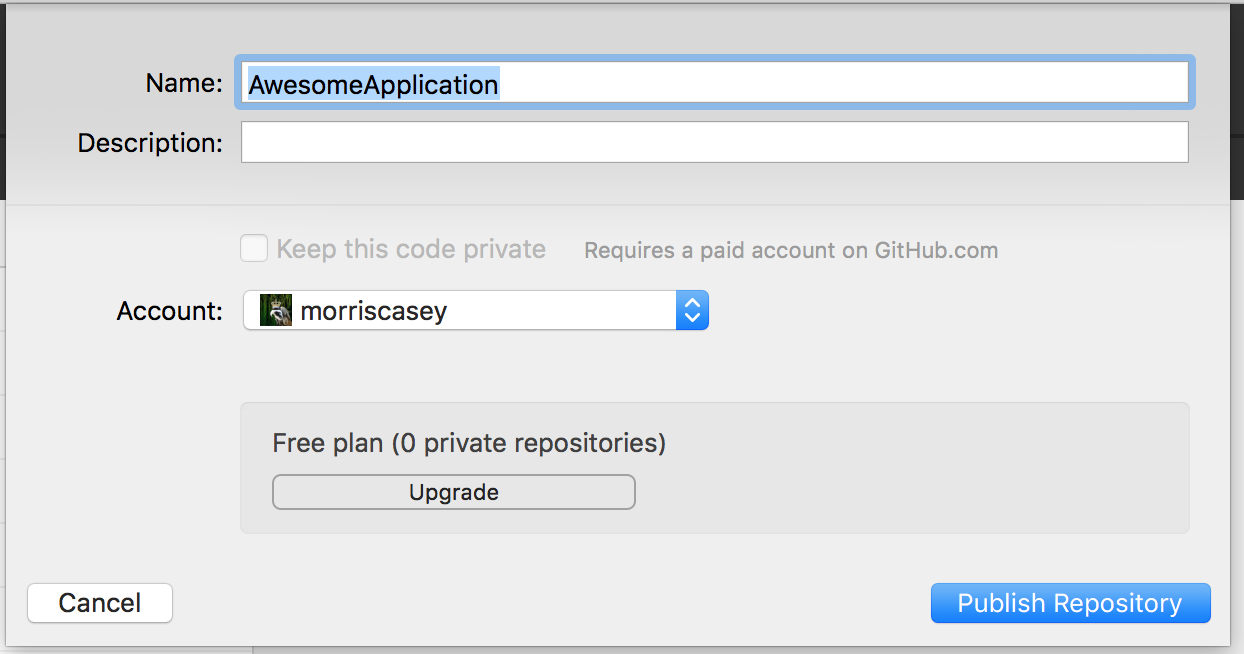
- Next, we will publish your local copy to Github.com. Click the button on the right-hand side that says "Publish".
- Review pop-up and make sure the project name is correct and click "Publish Repository".
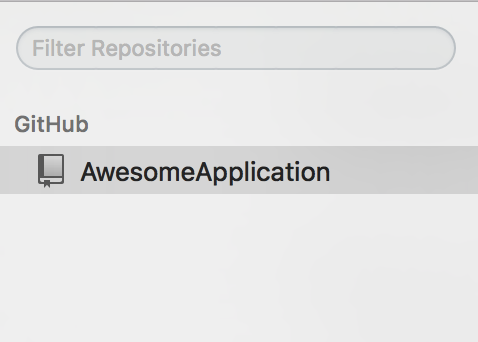
- On the right-hand column, your new project title displays under Github.
Note: Only one team member needs to create a repository for your team project. The team will clone a copy throught their own GitHub Desktop.
Note: I recommend creating a directory to store all your repositories for future projects. I recommend a directory named GitHub.

Adding your Team Members to the Project
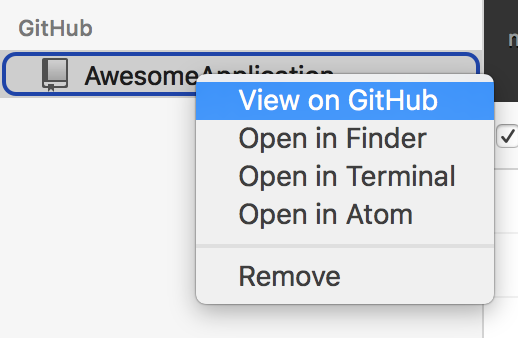
- On the right-hand column, right-click your project's name and select "View on GitHub".
- This will launch the project in Github.com.
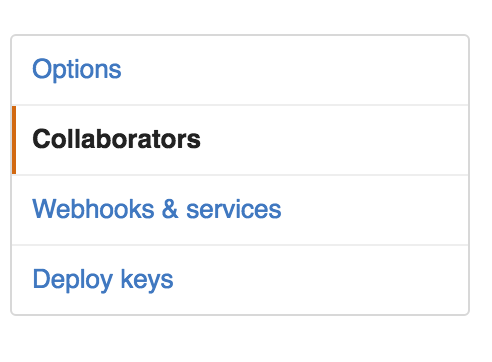
- Under the name of the project, click the "Settings" tab.
- On the left-hand side of Settings, click the button "Collaborators".
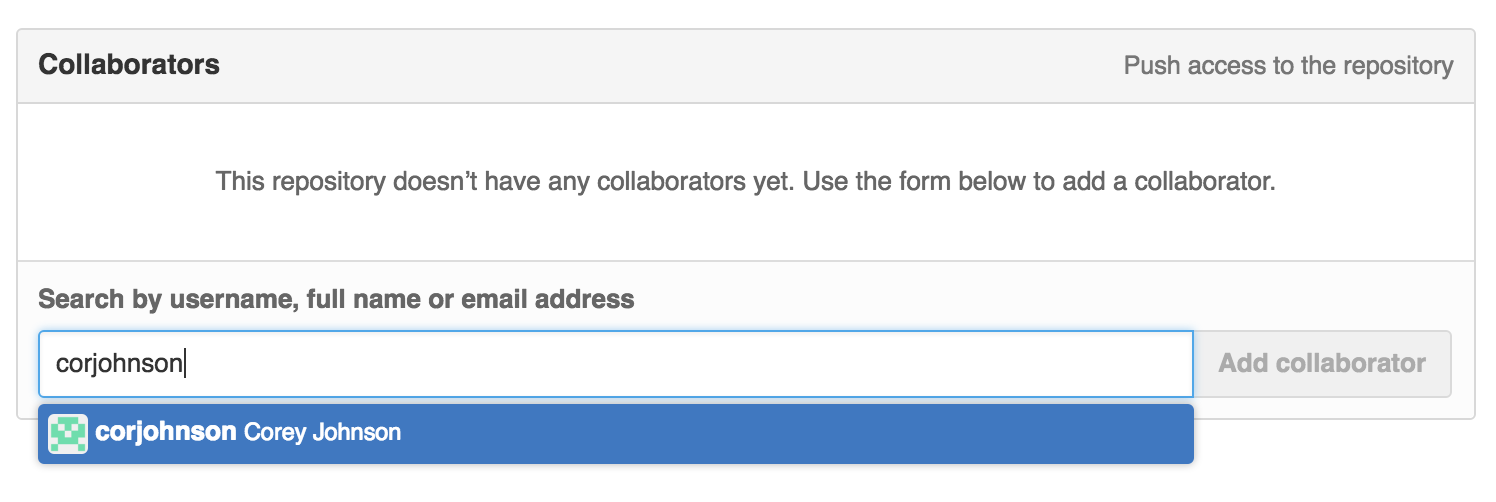
- Add all your team members to the project. Either type their username or email and click "Add Collaborator".

Uploading your First File
- Create a test HTML page with your favorite text editor
- Save the file
- Once saved, launch GitHub Desktop application.
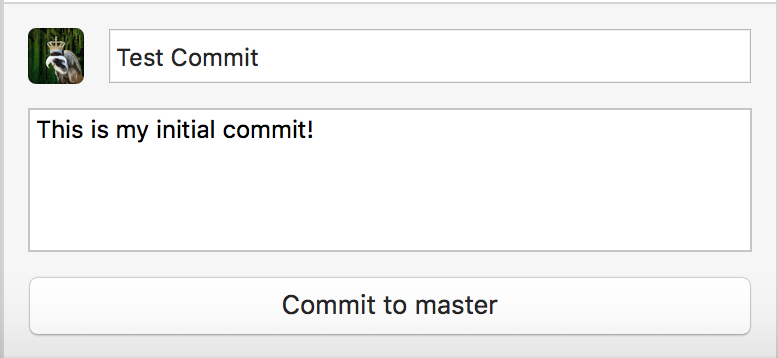
- In the summary input field, type "Test Commit"
- In the description input field, type "This is my initial commit."
- Click "Commit to Master"
- On the upper right-hand side, click Publish.
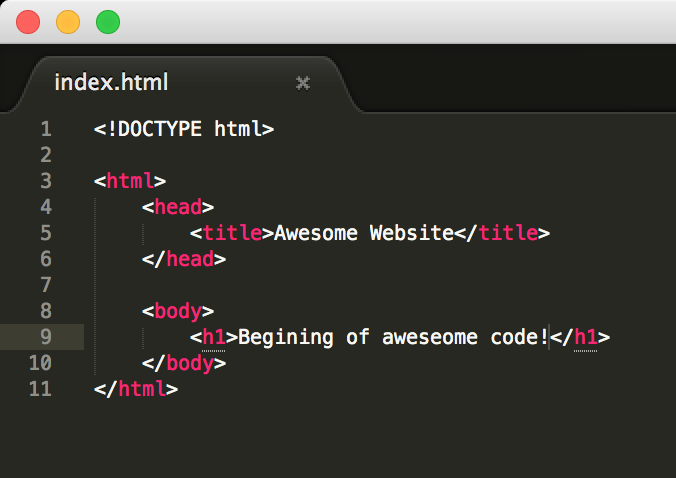
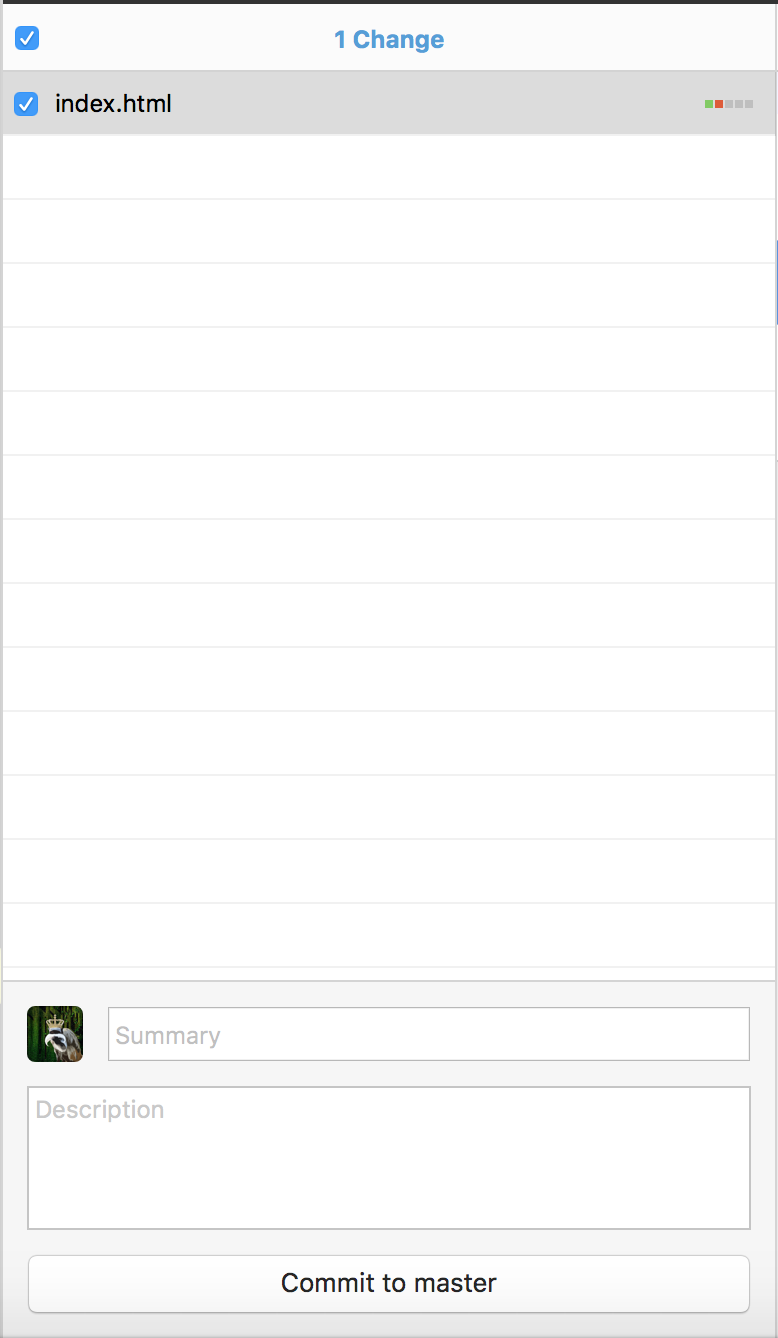
Note: Notice the file saved is now showing in our GitHub application. This doesn't mean it is uploaded to the repository yet. It is waiting to be commited to the site.
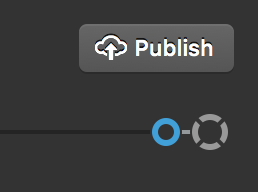
Note: Once published the file created is stored on GitHub's repository.
Cloning your Team Project
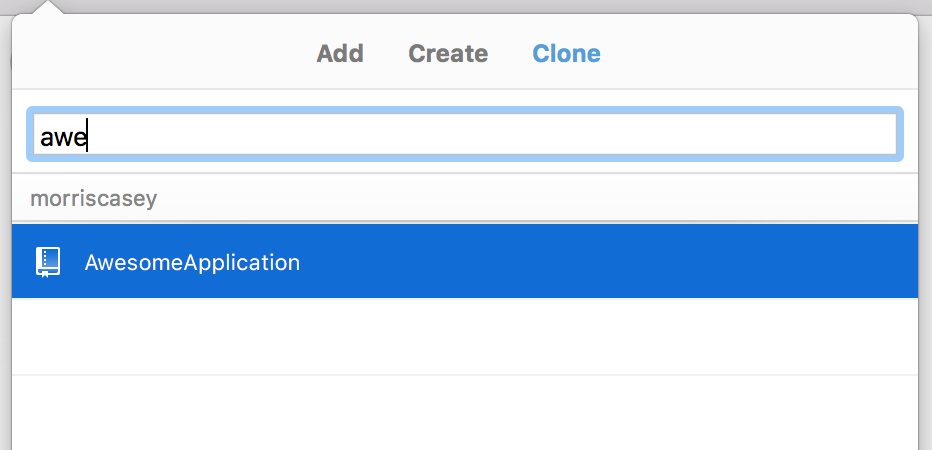
- In the top left-hand corner of the GitHub Desktop, click the plus icon.
- Select "Clone"
- Type the name of your project.
- Click "Clone Repository"
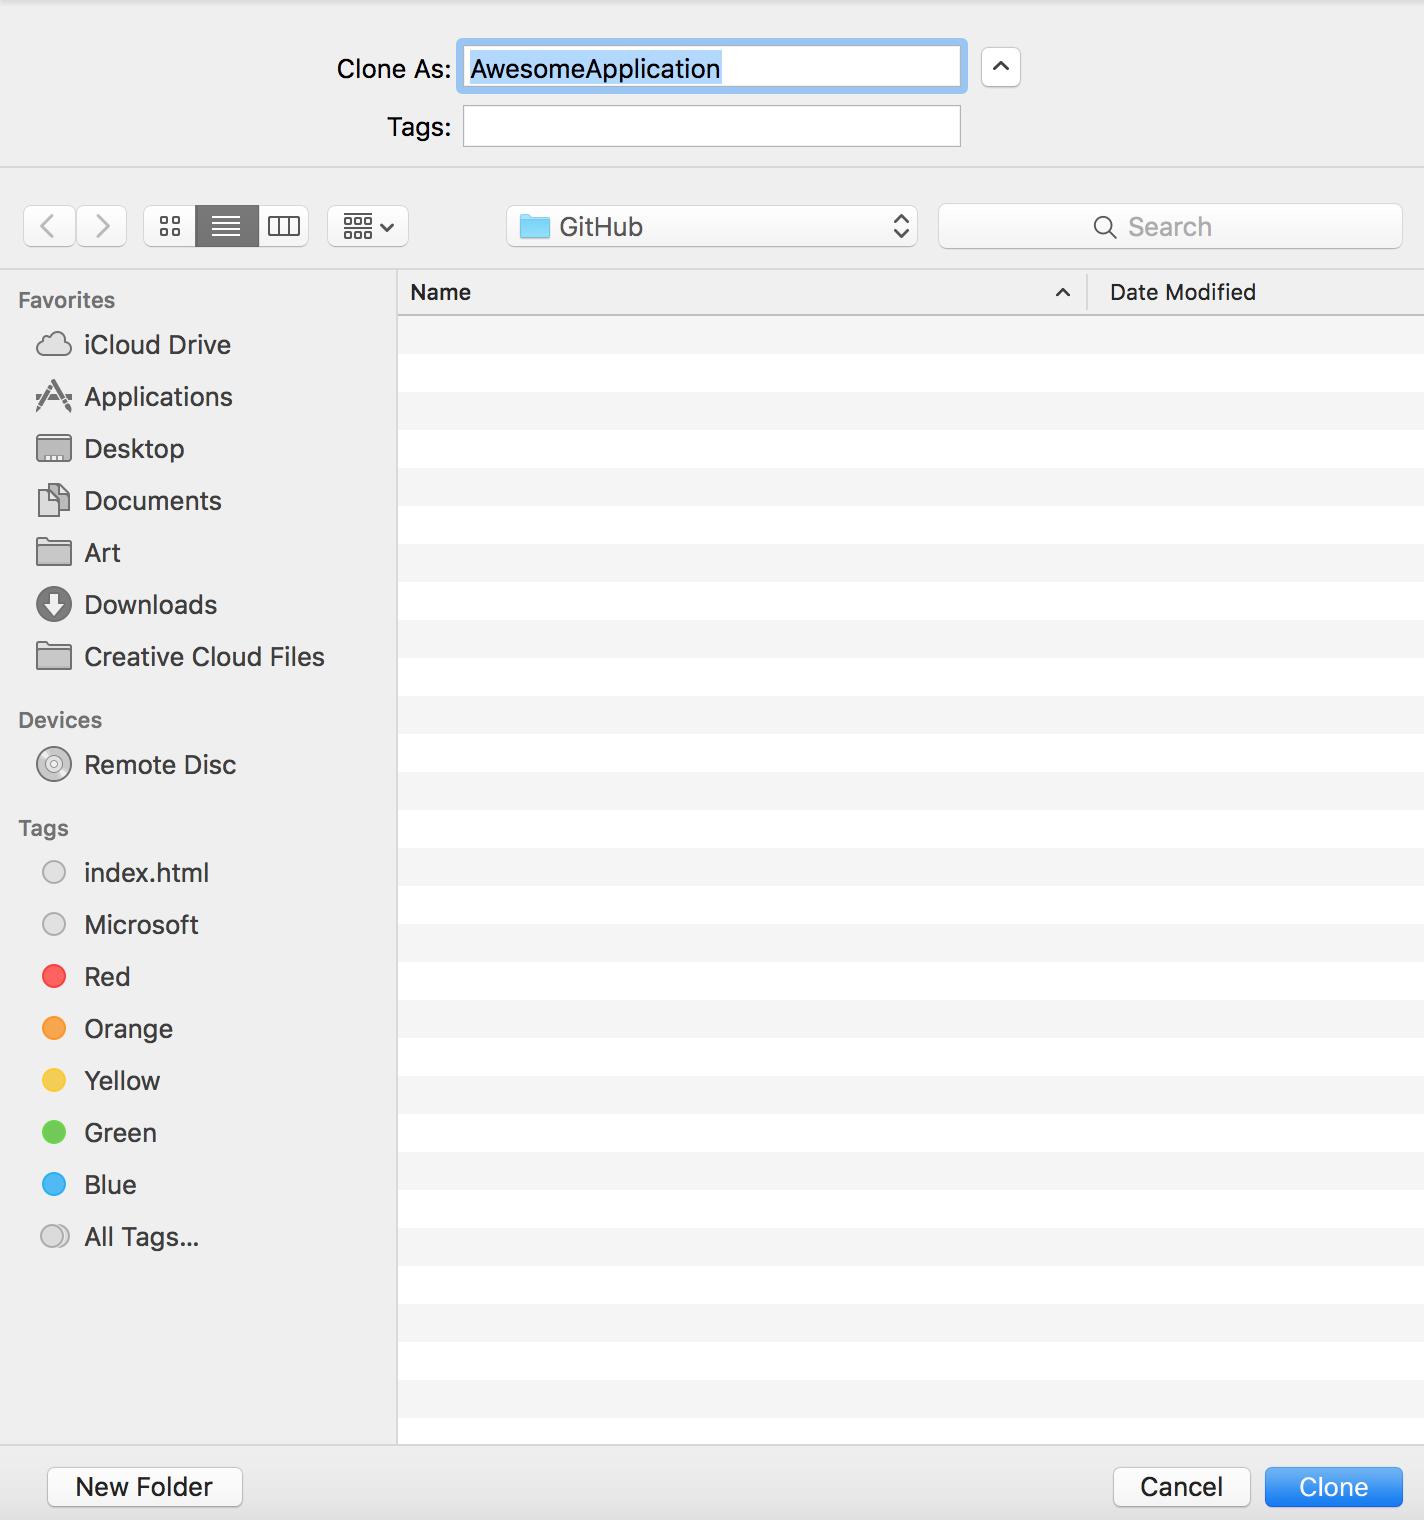
- A pop-up appears asking where to save project locally.
- Now a copy of your team project is saved locally to your desktop.
Note: Make sure someone on your team has created a repository for your project before continuing.

Note: Since another team member created the repository, there username will show in from of the project name.
Note: I recommend making a directory called GitHub to store your project. That way you can store of projects in one directory.
