Initial setup of a team trello board and adding team members
Purpose
The purpose of this instruction is to walk a new user through creating a Trello team, adding members to the team, and creating a board to store your product and sprint backlog.
Note: Only one team member needs to create the Trello team and team board
What is Trello.com
Trello.com is a process management site using visual elements to help organize your projects.
Step-By-Step Instructions
Create a new team
- Go to https://trello.com and login Note: If you do not have a trello.com account, click Sign up. Provide a user name, email address, and password.
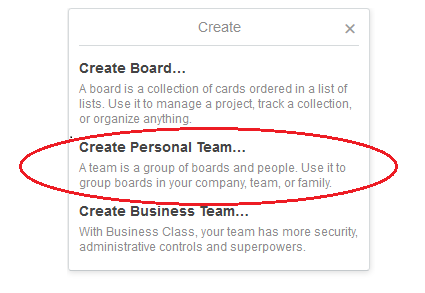
- Click the plus icon next to your username
- Click “Create Personal Team”
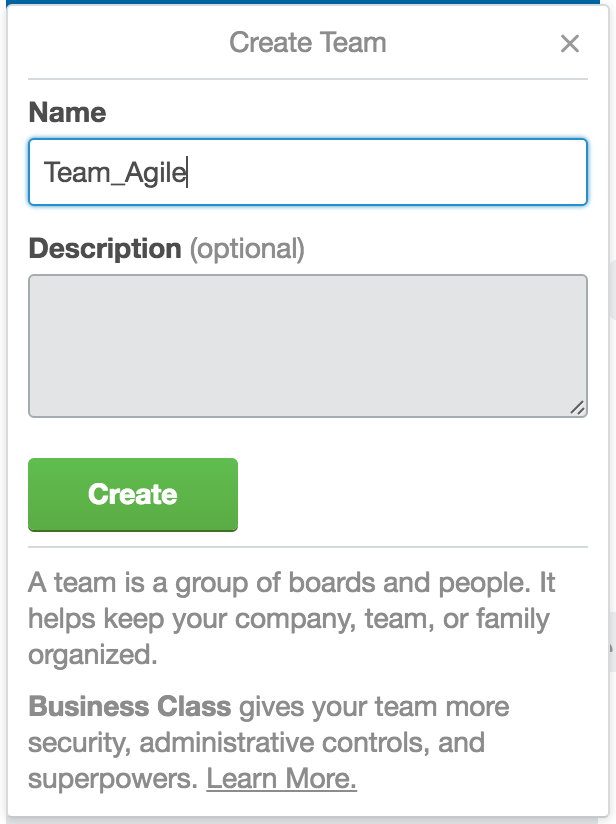
- Enter the name of your team
- Click Create
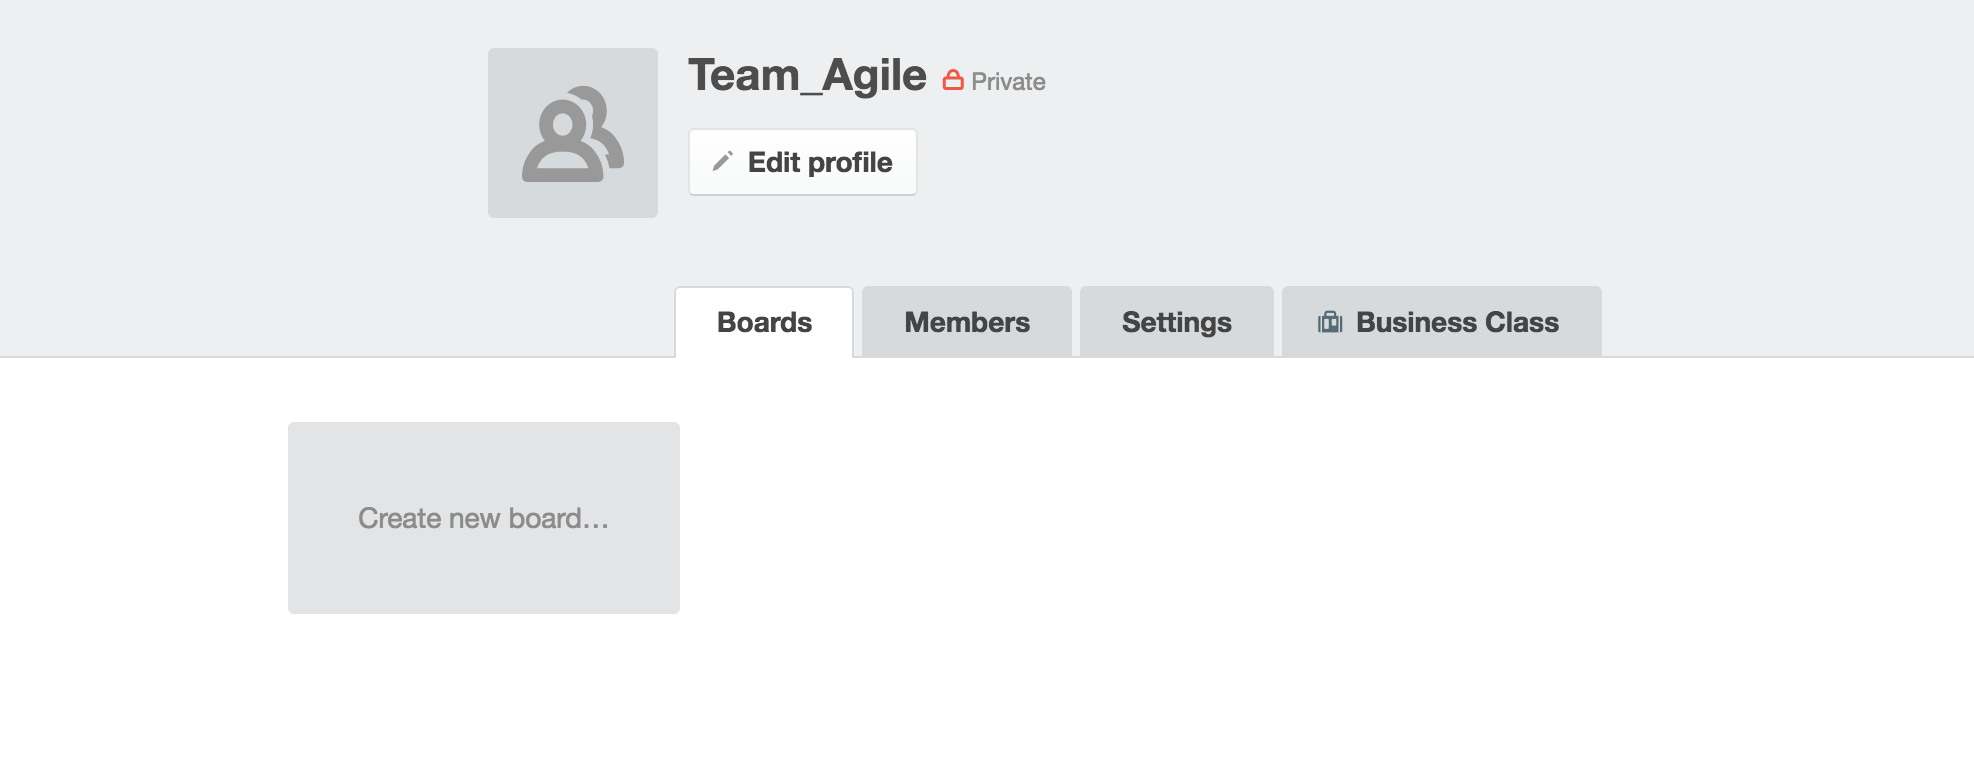
- You should now see something similar
Adding team members to your new team
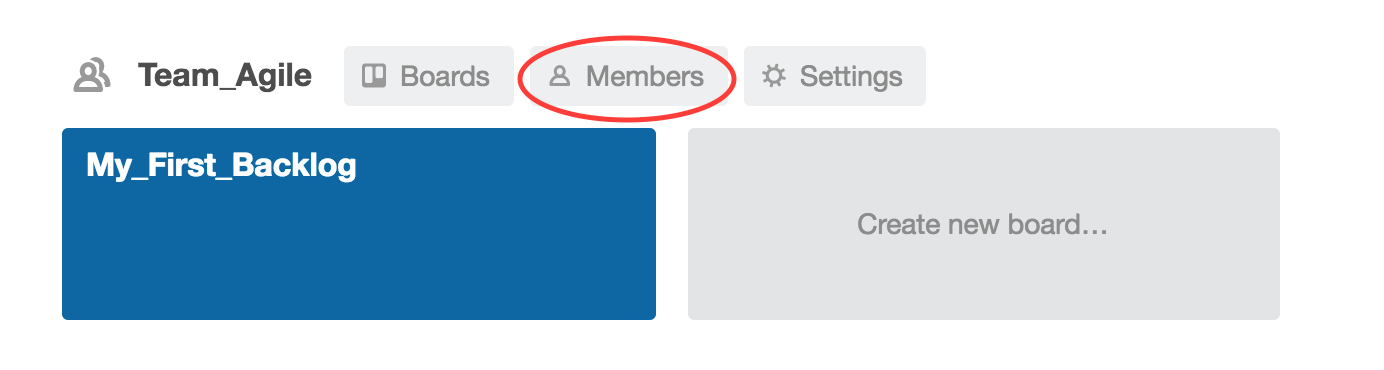
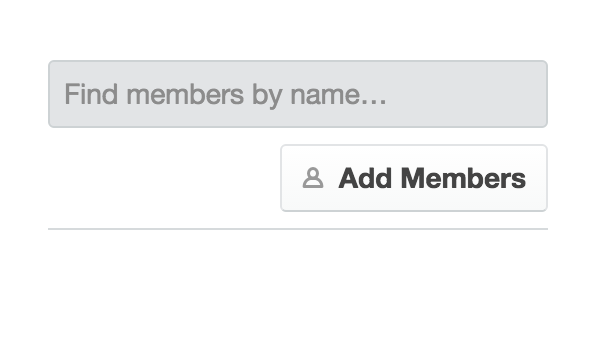
- Click Members
- On the left of the page, click Add Members
- In the input field type the email address of your team member and select your team member found
- Here is what you will see once a team member is added
- Repeat steps 1-3 until all your team members are added to your Trello team

Note: You can look up a user by name but may be easier to find using email address
Note: You may also send team members a link to join the team by clicking “Invite people by giving them a special link...” , then copy and paste the link for team member access.

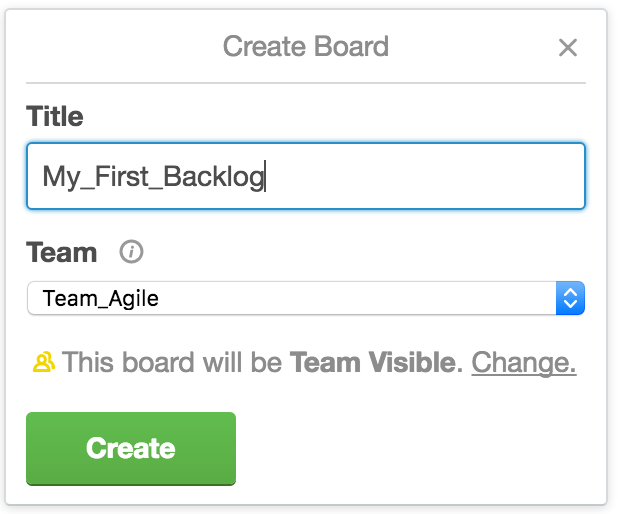
Create a board for your backlogs
-
Note: Your trello board holds your product backlog, sprint backlog, and the lifecycle(beginning and end) of each sprint. Additional detail is discussed in additional tutorials.
- Click Create new board
- Enter title for new board
- Click Create
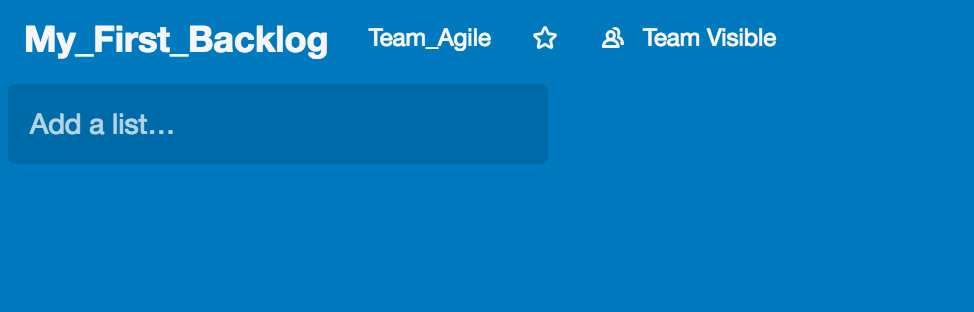
- This is where your product and sprint backlog will go
Organize Trello Board
- Click Add a list
- Enter the name of the list as “Product Backlog”
- Click Save
- Current Sprint Backlog
- In Progress
- Review
- Done
- Additional Resources

Note:The Product Backlog list is where your user stories start